Rhubarb Jam

with strawberries

This is a great way to preserve rhubarb for the months ahead, and also to use up any other berries you may have to hand  – in this instance, strawberries. I also added in a handful of de-stoned cherries to make up the 200g of berries and they tasted delicious, so feel free to experiment. Raspberries and blackberries would also work well.

I used the kind of preserving sugar which doesn’t contain pectin, which created a deliciously spreadable rhubarb jam. The jam also actually sets a bit further as it ages.

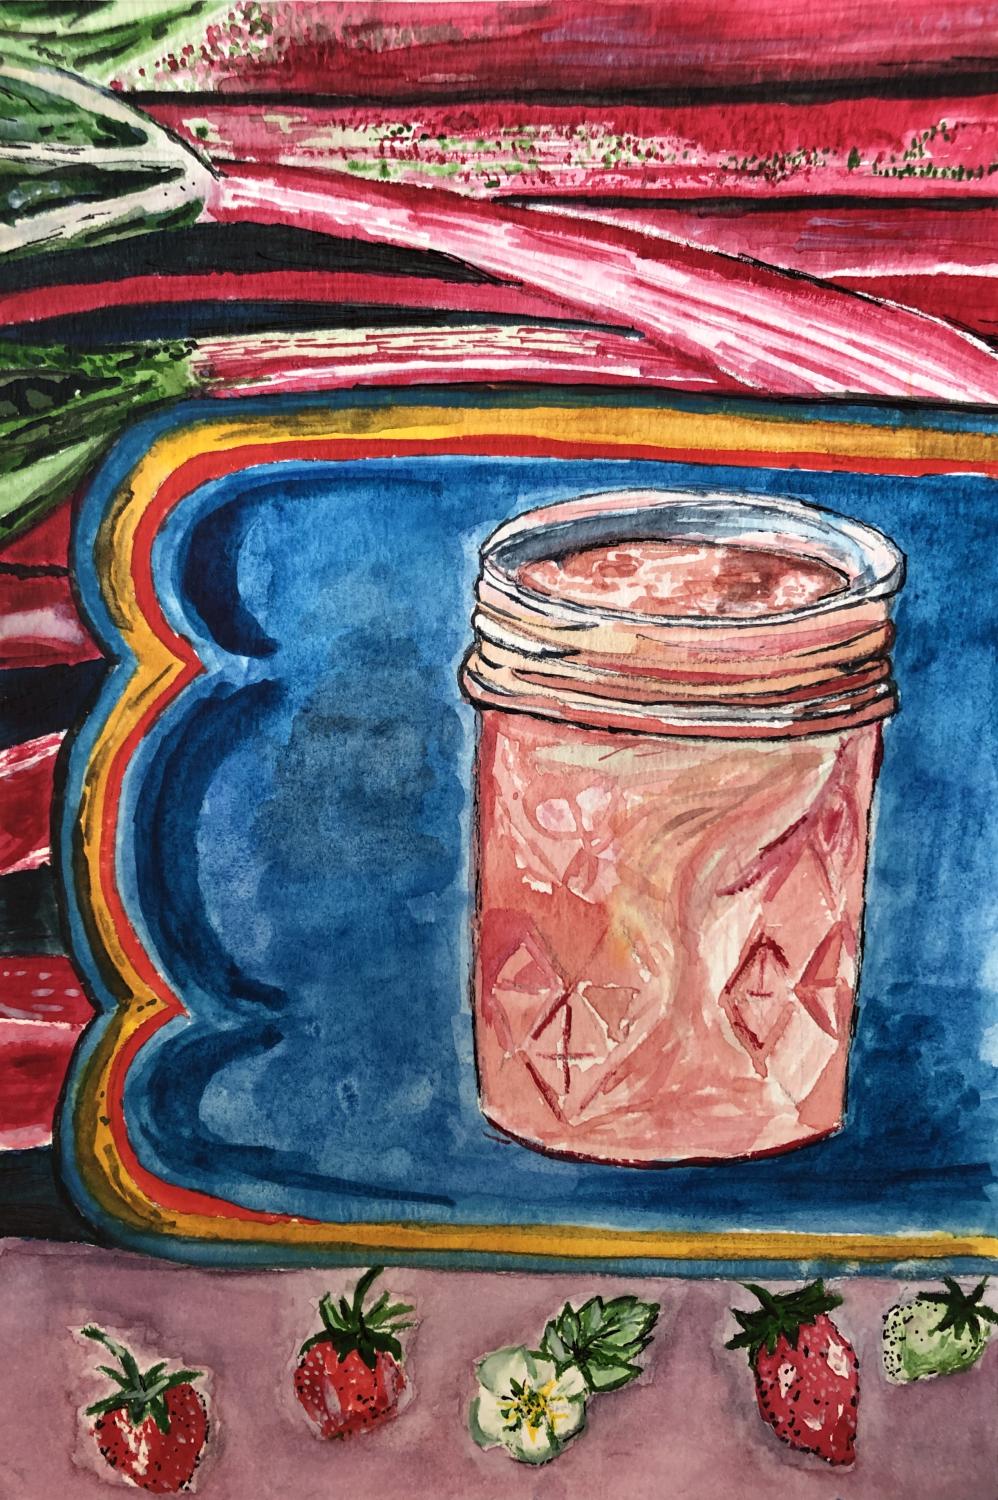
(If you’re wondering why I painted it instead of photographing it this week, we ate and gave away all the jam before I decided to write it up for the blog, and I’m waiting to get my hands on some more rhubarb for another batch! So in the meantime my sketch is having to stand in.)

Practical tip: Make sure you sterilise your jam jars beforehand, and store the jam in a cool, dry place. It will keep for up to one year if stored correctly. Once opened, store in the fridge.

Equipment: for bottling the jam, you will need wax paper jam cover discs, cellophane jam pot covers (or an airtight alternative of your choice), elastic bands to secure, and sterilised jam jars.

Makes approximately 8 -9 medium sized jars. (I used recycled Bonne Maman jars which are 370g each, but use whatever you have to hand.)

INGREDIENTS

  • 1.8kg rhubarb, trimmed
  • 200g strawberries
  • 150ml apple juice
  • 150ml water
  • 2kg preserving sugar
  • juice of 2 lemons

METHOD

In a large heavy bottomed saucepan, stew the fruit with the water and apple juice until the rhubarb has cooked through (roughly between 15-20 minutes, depending on the rhubarb).

Add the sugar and lemon juice and cook until the sugar has dissolved, and the jam passes the “wrinkle test” (see below “tip”). If it isn’t quite ready, cook for short intervals (no more than a couple of minutes) in order not to overdo it, and repeat the test. I find that rhubarb jam has a slightly looser texture anyway which I like, so take care not to cook the jam too much or you will lose the flavours of the fruit.

If any scum has formed on the top, simply skim this off before pouring the jam into the sterilised jars. I use a heatproof metal funnel for this.

To seal the jars, immediately place a wax paper disc on the top of the jam, with the wax side facing down. This will help prevent any mould from forming. Next, make the jars airtight by placing a cellophane jam pot cover over a damp tea towel or clean dishcloth to wet it slightly. Place these tightly over the top of the jar, and attach them firmly using elastic bands. As the cellophane dries, it will tighten and stretch over the jar, helping to keep the jam airtight.

Tip – to check whether your jam is ready, chill a plate in the freezer in advance. Once you think your jam has reached the right consistency, drop a little jam onto the plate and drag it along with your finger. If it creases up with a jam-like consistency it is ready, if not, return the mixture for a couple more minutes to the heat, before testing again.
IMG_7590