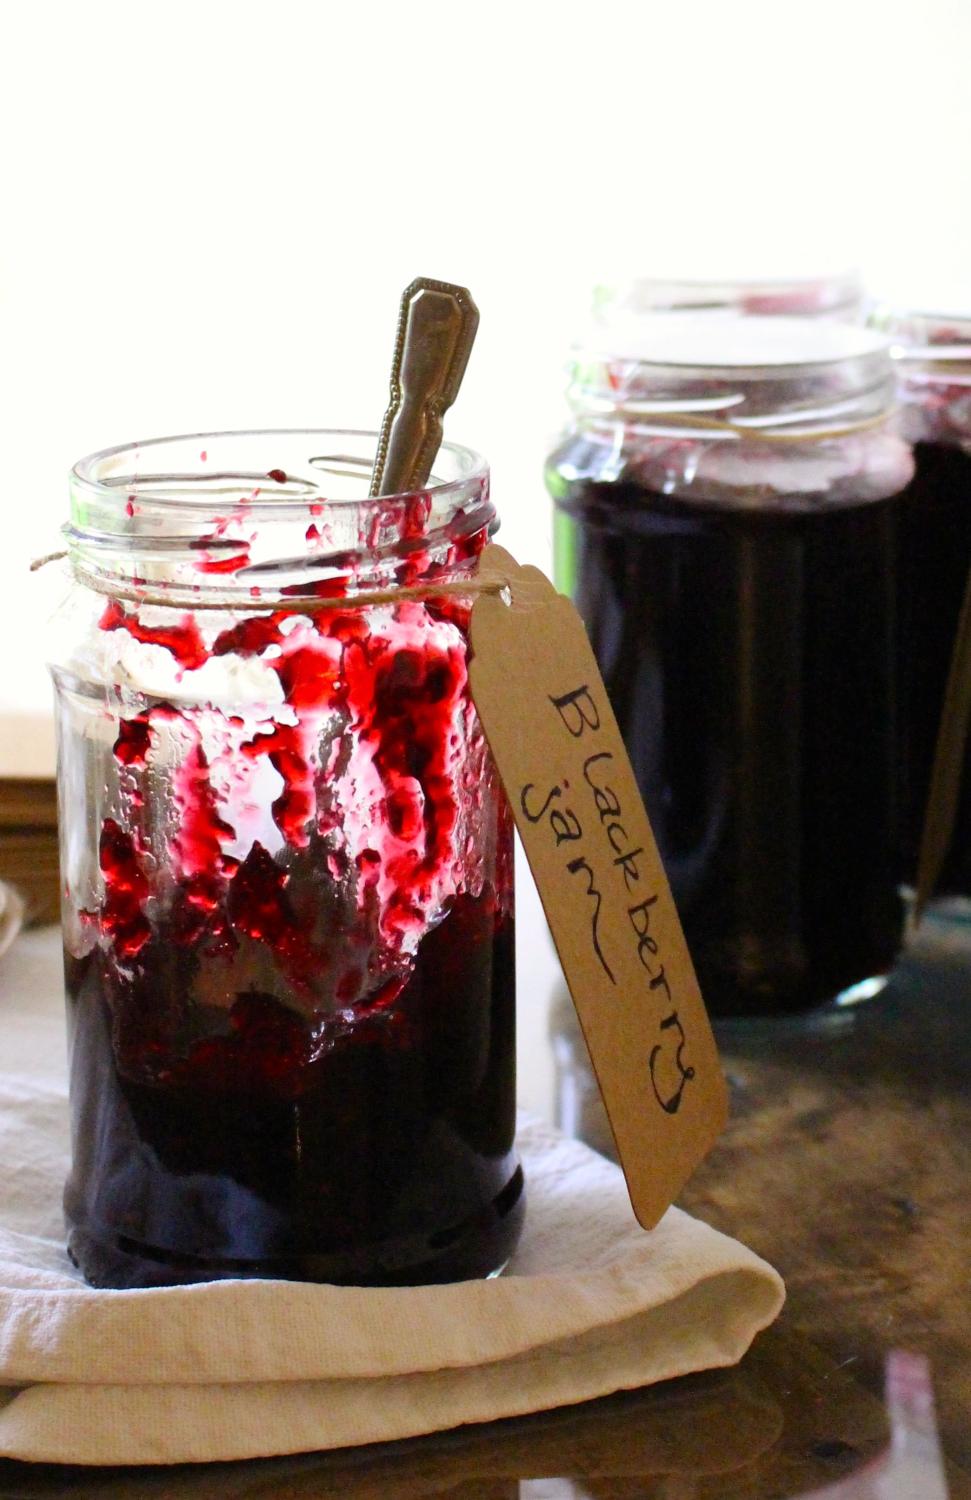
Blackberry Jam

In the last few days, it has seemed like autumn has begun to make a surprisingly early appearance at the Mill. This morning, there was even a slight frost on the ground, making it feel much more like a crisp September than mid-August. Blackberries are one of my favourite flavours of autumn, working beautifully in cobblers, crumbles, compotes, sauces, cordials and jams. They have started to appear abundantly in the hedgerows surrounding the Mill, so I have preserved a batch of them into my simple blackberry jam recipe – perfect for spreading on hot buttered toast, or layering in Victoria sponge cake with plenty of cream.

Practical tip: Make sure you sterilise your jam jars beforehand, and store the jam in a cool, dry place. It will keep for up to one year if stored correctly. Once opened, store in the fridge.

Equipment: for bottling the jam, you will need wax paper jam cover discs, cellophane jam pot covers (or an airtight alternative of your choice), elastic bands to secure, and sterilised jam jars.

Makes approximately 1.6kg of jam (roughly 4-5 pots of jam, depending on your jam jar size).

INGREDIENTS

  • 1kg golden granulated caster sugar
  • 1kg blackberries
  • juice of one lemon
  • 60ml water

METHOD

Preheat your oven to 150°C. Place your sugar in an ovenproof bowl or pan in the oven for 10-15 minutes, and remove it before it starts to caramelise or to cook around the edges. (Heating the sugar in the oven first is a tip I read from the fabulous Darina Allen, who recommends doing this to help keep the fruit fresher, as you don’t have to boil the mixture for as long in order to dissolve the sugar.)

Place all your ingredients apart from the sugar in a heavy bottomed saucepan or preserving pan. Bring the mixture to the boil, then lower the heat under the blackberries and simmer steadily for 15 minutes or so, until it is soft and the blackberries have broken down. If any of the blackberries remain whole, use a heat-proof silicone jam spoon or long handled wooden spoon to mash them up as you stir.

Add the sugar and stir until it has totally dissolved. Bring the mixture swiftly to a rolling boil, stirring in one direction to help prevent sediment forming on the top. The mixture must reach a temperature of 104.5°C in order to set – use a jam thermometer to check this before decanting the jam into the jars.

If any scum has formed on the top, simply skim this off before pouring the jam into the sterilised jars. To seal the jars, immediately place a wax paper disc on the top of the jam, with the wax side facing down. This will help prevent any mould from forming. Next, make the jars airtight by placing a cellophane jam pot cover over a damp tea towel or clean dishcloth to wet it slightly. Place these tightly over the top of the jar, and attach them firmly using elastic bands. As the cellophane dries, it will tighten and stretch over the jar, helping to keep the jam airtight.

Tip – if you don’t have a thermometer, to test whether your jam is ready, chill a plate in the freezer in advance. Once you think your jam has reached the right consistency, drop a little jam onto the plate and drag it along with your finger. If it creases up with a jam-like consistency it is ready, if not, return the mixture for a couple more minutes to the heat, before testing again.

Blackberryjam2